A Masterclass
What you will learn
Students will get an in depth knowledge of Functionality of AutoCAD Electrical software. Using this knowledge, students can create professional electrical control drawings.
Description
AutoCAD Electrical is the software of the AutoCAD suite which is intended to help control designers with the creation and modification of control systems. This software has extended features to automate control engineering tasks, such as building circuits, numbering wires, and creating bills.
For electrical engineers it’s good for making circuit layout to power plant layout. This module include electrical schematic components, automatic report generation, PLC I/O drawing for spreadsheet, and so on.
This course is basically designed to assist the engineering students and the practicing designers. Keeping in view the varied requirements of the students, this course covers a wide range of tools and features such as schematic drawings, Circuit Builder, panel drawings, parametric and non-parametric PLC modules, stand-alone PLC I/O points, ladder diagrams, point-to-point wiring diagrams, report generation, creation of symbols, and so on. On the completion of this course, students will be able to create electrical drawings easily and effectively.
Salient Features of this Course:
- A comprehensive course consisting of 106 video lectures that are organized in a pedagogical sequence.
- Detailed explanation of all AutoCAD Electrical commands and tools.
- Step-by-step instructions to guide the users through the learning process.
- Two projects at the end of the course to enable the users to applythe skills learned in the course
- Practice Test
- Certificate of Completion
Content
Installation and Basic Interface Overview
Working with Project Manager
Working with Wires
Understanding Ladder Diagrams
Schematic Components
Schematic Editing
Connectors and Point to Point Wiring Diagrams
Working with Circuits
Panel Layouts
Schematic and Panelt Reports
PLC Modules
Terminals
Project Properties, Drawing Properties, and Refernce Files
Title Blocks and Templates
Symbol Creation and Miscellaneous Tools
Project 1
Project 2
Overview: Beyond the Basic Drafting Board
Let’s be honest for a second: if you’re still using “vanilla” AutoCAD to design complex electrical control systems, you’re essentially working with one hand tied behind your back. I’ve seen plenty of talented designers waste hours manually numbering wires and cross-referencing relay contacts. This is where the Complete Course in AutoCAD Electrical 2021 steps in. It’s marketed as a masterclass, and after digging through the modules, I can say it actually treats the software like the database-driven powerhouse it is, rather than just a digital pencil.
The core philosophy of this course isn’t just about “how to draw.” Instead, it focuses on the logic of industry-standard tools. It moves you away from simple geometry and into the world of intelligent components. What I appreciated most was the focus on the Project Manager—a tool most beginners ignore, but which is actually the brain of any professional workflow. This course bridges the gap between being someone who “knows CAD” and someone who understands electrical design automation. It’s about building a digital twin of a control panel that actually generates its own data, which is the only way to stay competitive in today’s engineering landscape.
Prerequisites: What You Actually Need
Don’t expect to jump into the deep end without some flotation devices. While the course is billed as beginner to advanced, you’ll struggle if you don’t have the following:
- A Solid Workstation: AutoCAD Electrical is resource-heavy. You need a machine that won’t stutter when you’re regenerating a 50-page schematic set.
- Basic AutoCAD Familiarity: You don’t need to be a wizard, but knowing how to navigate the ribbon, use layers, and understand coordinates will save you a lot of frustration in the first few hours.
- Fundamental Electrical Knowledge: The course teaches the software, not “Electricity 101.” If you don’t know the difference between a Normally Open (NO) contact and a Common, or what a PLC does, you should do some light reading on control theory first.
- AutoCAD Electrical 2021 Software: While newer versions exist, the 2021 interface is the benchmark here. You can follow along with 2022 or 2023, but sticking to the version used in the hands-on labs makes the learning curve much flatter.
Skills & Tools: Mastering the Ecosystem
This isn’t just a tour of the toolbar. The course dives into specific job-ready skills that employers actually look for. You’ll spend a significant amount of time on real-world projects, which is where the real learning happens. Key tools and skills covered include:
- Schematic Design: Mastering the icon menu to insert smart components and using the “Trim Wire” and “Scoot” commands (the bread and butter of efficiency).
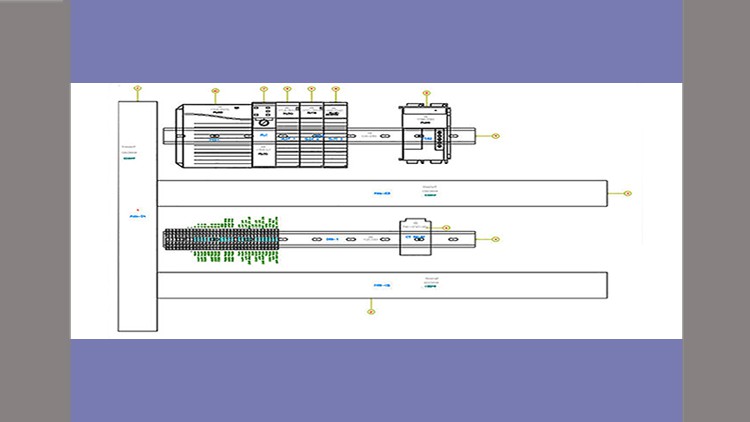
- Panel Layouts: Moving from 2D schematics to physical footprints. Learning how to scale components and arrange them within an enclosure.
- PLC I/O Integration: This is a big one. You’ll learn how to generate PLC modules from a database, which is a massive time-saver for automation engineers.
- Automated Reporting: Learning to generate a Bill of Materials (BOM), wire lists, and from/to reports with a single click. This is how you eliminate human error in procurement.
- Cross-Referencing: Setting up the automated tracking of parent/child components so your relay coils and contacts stay synced across different sheets.
Career Benefits & Job Roles
Investing time in this masterclass is a direct play for career growth. In the current market, “Draftsman” is a dying title, but “Electrical Designer” or “Controls Engineer” is a high-demand role. By gaining these job-ready skills, you position yourself for roles in industrial automation, renewable energy systems, and panel building shops.
If you’re aiming for certification prep, this course covers about 85-90% of what you’ll face in professional certification exams. It transforms you into a candidate who can walk into an interview and explain how to manage a multi-sheet project environment, not just how to draw a circle. For freelancers, it means you can bid on larger, more complex projects because your workflow is finally scalable.
The Pros: Why This Works
- Methodical Pacing: The transition from beginner to advanced concepts feels earned. It doesn’t throw you into PLC parametric builds until you’ve mastered simple wire numbering.
- Focus on Efficiency: The instructor emphasizes “the Electrical way” of doing things, showing you how to avoid the “broken” workflows that plague self-taught users.
- Real-World Context: The hands-on labs aren’t just abstract shapes; they mimic the type of control drawings you’d see on a factory floor.
- Database Mastery: It teaches you how to manipulate the underlying catalog database, which is the secret sauce to making the software actually work for you.
The Cons: An Honest Take
If I have one gripe, it’s the versioning. While the 2021 version is still widely used in the industry (many firms are slow to upgrade due to stability), some of the newer cloud-integration features found in the 2024 release aren’t covered. If your firm is strictly using the most cutting-edge Autodesk Construction Cloud features, you might find a few gaps. However, for 95% of users, the 2021 logic is identical to the current versions.